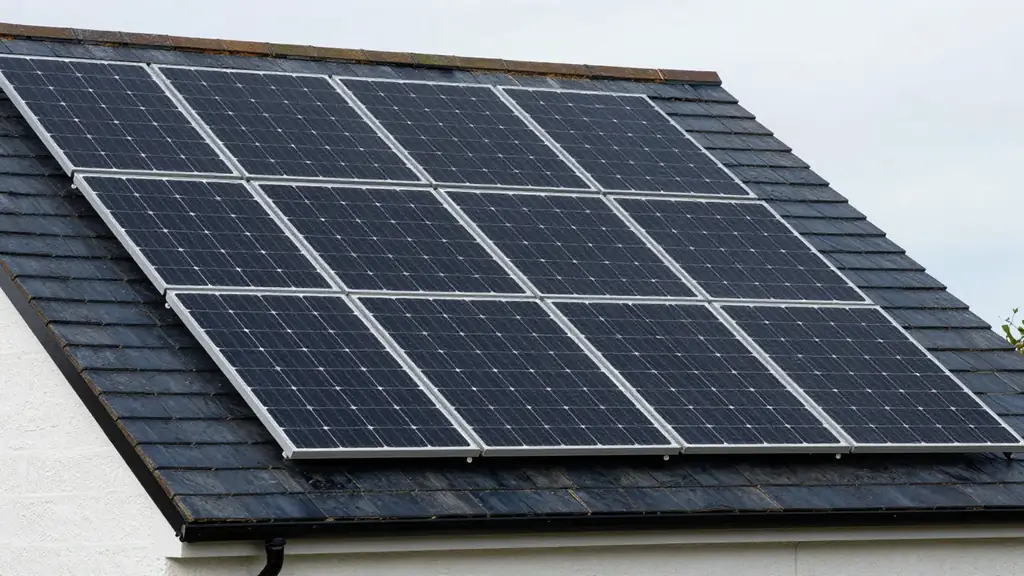
Designing solar into a self-build from the first sketch
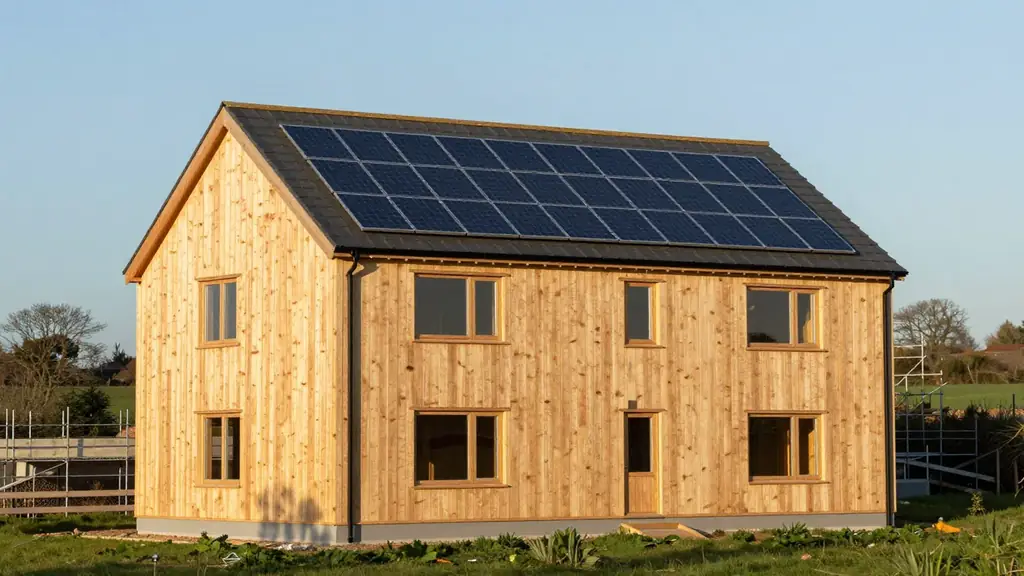
Designing solar into a self-build works best when it starts with the first sketch. At that stage, the roof is still a shape on paper, and every decision is cheap. This guide sets out what to settle early, so the array looks like part of the architecture and not an addition.
Why the first sketch matters
In practice, solar arrives late on many projects. The roof is drawn, planning is granted, and then someone asks where the panels will go. By then, the best roof plane may be broken by dormers, rooflights or a chimney. The array has to fit around them, and the result shows.
Starting early reverses the order, so you decide where the generating surface goes, then draw the roof around it. As a result, the elevation stays clean, and the panels can be a deliberate feature.
There is also a regulatory reason to plan ahead. In England, the government has created a new functional requirement, L3, for on-site renewable electricity generation in new dwellings. According to the Building Circular 01/2026, the regulations take effect on 24 March 2027 for non-higher-risk work. Work submitted before that date stays protected if construction begins by 24 March 2028. These standards apply to England only, so check the rules for Wales and Scotland separately. If you are building in Scotland, our guide to solar panels and planning permission in Scotland is a good starting point.
Orientation, pitch and roof shape
First, solar output depends on the direction and angle of the roof. A south-facing plane is the usual target, though east and west planes can also work well for a household that uses power morning and evening. Rather than guess, ask a designer to model your site early.
Pitch matters for the mounting system as well. GSE’s In-Roof datasheet gives a slope range of 12 to 50 degrees. Viridian’s Clearline Fusion brochure gives 20 to 60 degrees. If you want an in-roof array, choose a pitch inside the range of the system you prefer. Our comparison of in-roof solar mounting systems explains how they differ.
Shape matters too, because a simple duopitch or monopitch gives a large clean rectangle. Hips, valleys and dormers break it up. This is not a reason to avoid them, but it is a reason to place the array on the plane that is least cluttered.
Choosing the product at concept stage
On a self-build, you can choose between three broad approaches. Each has a different effect on the design.
First, a framed in-roof array replaces part of the covering. The frame is flush, and the edges are neat. Second, solar slates or tiles replace the covering entirely, so the roof reads as one material. Our guides to solar roof tiles in the UK and what solar roof tiles cost show how these options compare. Third, a rack-mounted array sits above the roof, which is the cheapest route but the least refined.
In addition, think beyond the main roof. A glazed rooflight, a canopy or a facade can all carry photovoltaics. Those are building-integrated approaches, and they work best when the architect specifies them from the start. For the detail, see our checklist on specifying BIPV for architects and our note on solar canopies and carports for homes.
Structure, services and the dull details
However, good integration depends on the unglamorous parts. Plan these on the drawings, not on site.
- Rafter and batten layout, set to suit the mounting system.
- A cable route from the array to the inverter, hidden within the build.
- A place for the inverter and any battery, with ventilation and access.
- A scaffold plan, so the roof edge is safe for fitting and later maintenance.
- A clear line from the meter position to the consumer unit.
Because the structure is new, you can also size the rafters for the finished weight of the array. Ask the structural engineer to include it. That is far easier than retrofitting strength later.
Batteries, charging and future changes
A new house is the easiest place to plan for the way you will live. Many owners add a battery, an electric vehicle charger or both. Therefore, leave space and a cable route for them now, even if you fit them later.
Meanwhile, think about the roof beyond the first array. A second plane may take more panels in future, and a clear margin of roof makes that simple. Ask your designer to show the possible extension on the drawings. As a result, a later upgrade will look like part of the original plan.
Planning and heritage context
Therefore, show the solar array on the planning drawings. A decision-maker can then judge the finished building, and you avoid a later application for something you intended from the start.
Context changes the weight of that advice. For example, if your plot is in a conservation area, read our guide to solar panels in conservation areas. Altering a listed home brings extra consent rules, as set out in solar panels on listed buildings. In protected countryside, see solar in National Landscapes.
Local character also guides the design. For instance, a new house in Oxford’s historic setting often needs to respect stone and slate neighbours, so see solar for Oxford’s historic streets and colleges. In the north, our page on flush solar for Edinburgh’s slate roofs and listed terraces covers Scottish conditions.
A simple order of work
Many self-builders find a clear sequence helpful, so here is one that works for most projects.
- Set the brief: energy use, battery wishes and the look you want.
- Sketch the roof so the best plane stays clear.
- Choose the product type and mounting system.
- Ask the structural engineer to allow for the loads.
- Draw the array on elevations and the roof plan.
- Plan cable routes and equipment space.
- Confirm the planning route before ordering.
Each step is short. Together, they keep solar from becoming a late and awkward add-on.
It also helps to share the sequence with your architect, engineer and builder at the start. Then everyone knows the roof plane is reserved for solar. Because nobody has to guess later, the finished house looks calmer, and the build runs more smoothly on site.
Next steps with Solar Creative
Because early input saves redesign, we work with architects and self-builders from concept stage. Our bespoke solar design service looks at roof form, product choice and layout together. For facades, glazing and canopies, our building-integrated PV service covers the specification.
So send us your drawings, even if they are only early sketches. We will tell you where the array should go.